Parent and carers' guide to GO
Use our membership system GO to view and update your and your child's details, register to volunteer, and more
If you’re experiencing any issues logging in and can’t find the support you need here, you can reach us on [email protected] or by phone on 020 7834 6242 (by selecting option 1, 2, then listen to the options). The team are available by phone Monday to Friday 10am – 2pm.
GO is our membership system for girls and volunteers.
It records member information, and when you register a girl to join a new GO record is created for you.
These tips are for parents and carers - for information on using GO as a volunteer, go to Using GO for volunteers.
You can:
- Register your child to join.
- Ask for a place in a unit for your child.
- Keep your contact details and other information up to date.
- Keep your child’s details up to date.
- Check what badges and awards your daughter is working towards.
- Fill in consent forms or your daughter to attend events or residentials.
- Register yourself as a volunteer.
You'll only be able to access your daughter’s details if she's in (or is waiting to join) Rainbows, Brownies or Guides. If she's a Ranger or young leader, she can set up and access her own record.
Step 1: After you’ve filled in the form to register your daughter, you’ll get an email from us inviting you to log into GO.
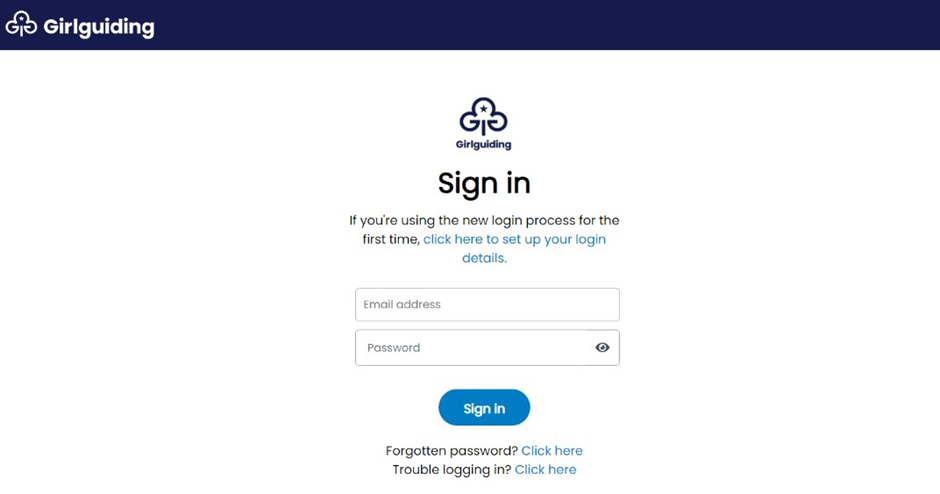
Follow the link to the login page and click the ‘Forgotten password?’ link to set up your login details.
If you don’t have this email, just click here to go straight to GO and set up your details. Use the email address you used when you registered your child. Or, if you need to update or add an email address, contact [email protected].

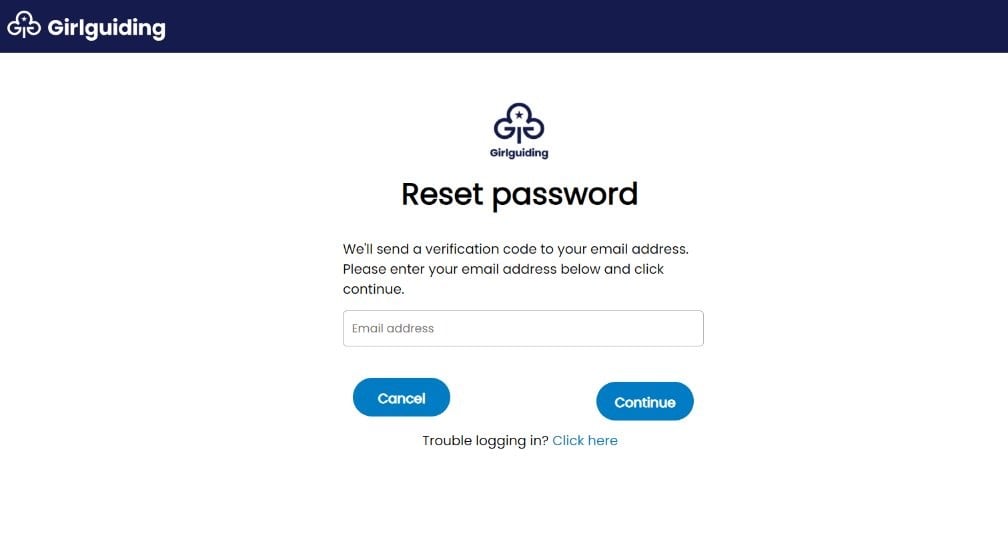
Step 2: Before you can set up your login details, you’ll be asked to verify your email address. It's important you use the email address associated with your account.
Enter your email address into the text box on screen and click continue. If you use an email address that is different to the one associated with your account, you'll still receive a verification code, but you won't be able to successfully log in.
You can ask your daughter's unit leader to check the email address that's associated with your account. If you need to update or add an email address, you can ask your commissioner or contact [email protected].
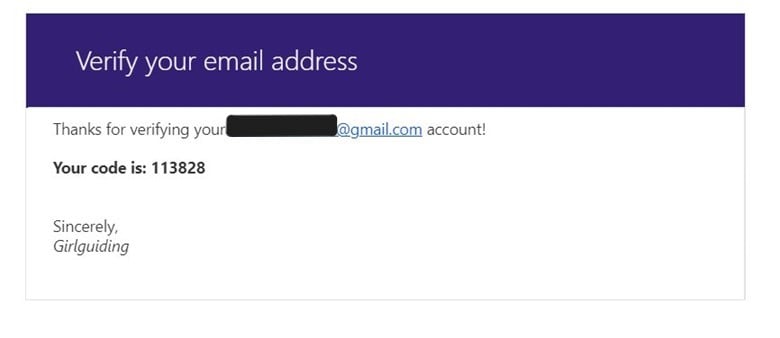
Step 3: You’ll then receive an email with a link to verify your email address. It’ll look a bit like this. If you haven’t got this email, please check your spam.
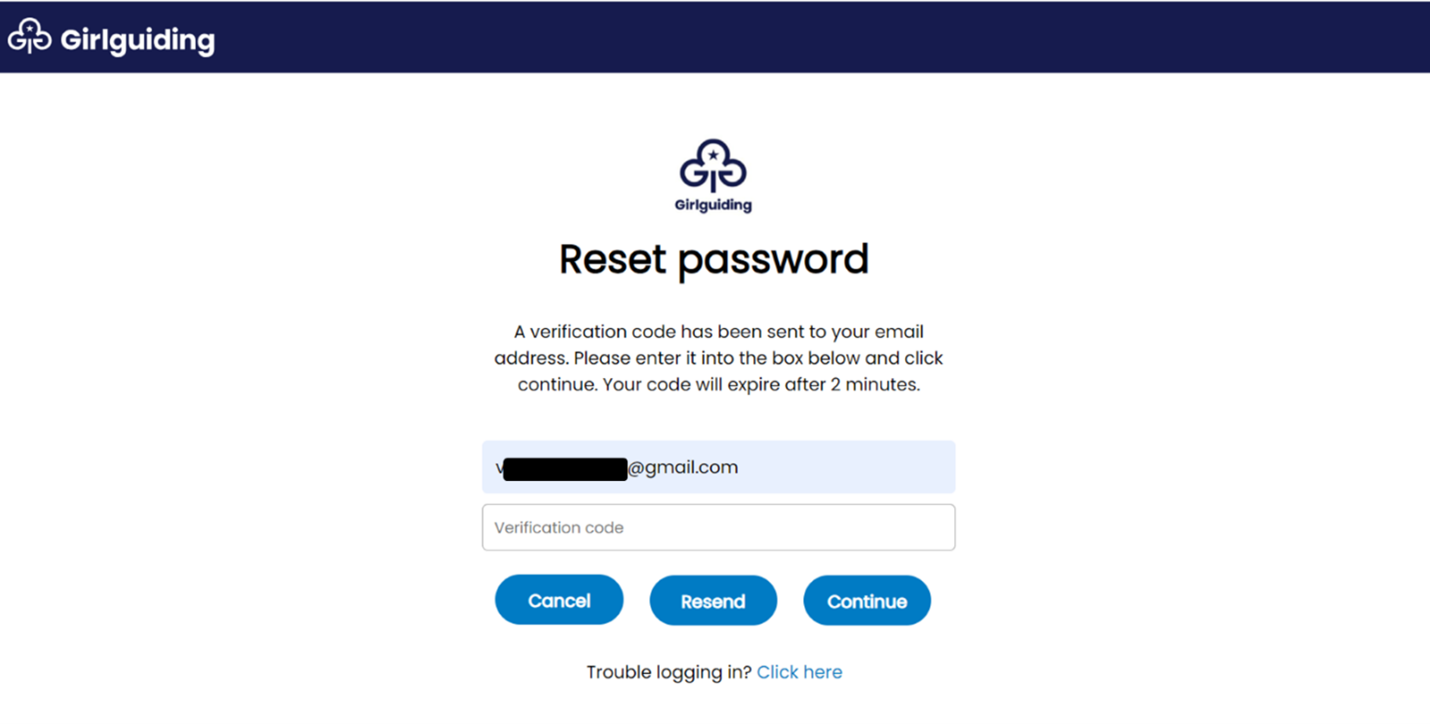
Step 4: Copy and paste the code into the text box that reads ‘Verification code’ to continue. Your code will expire after 2 minutes – you can always click ‘Resend’ for another one.
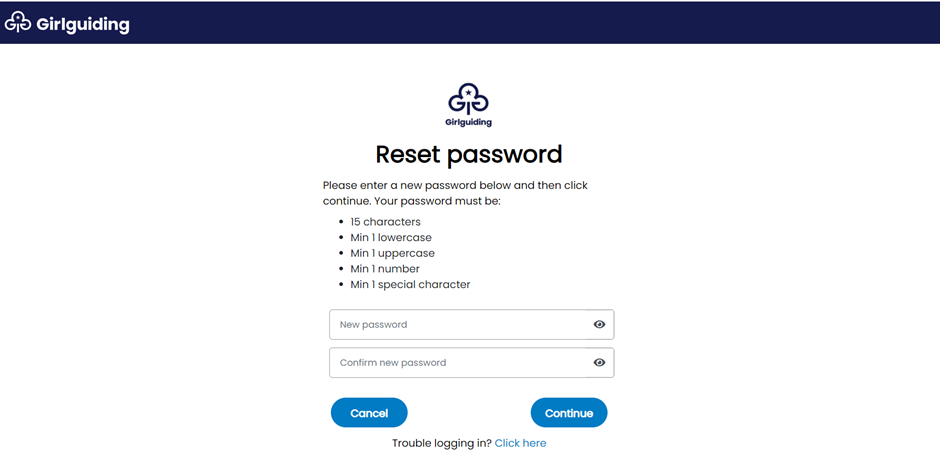
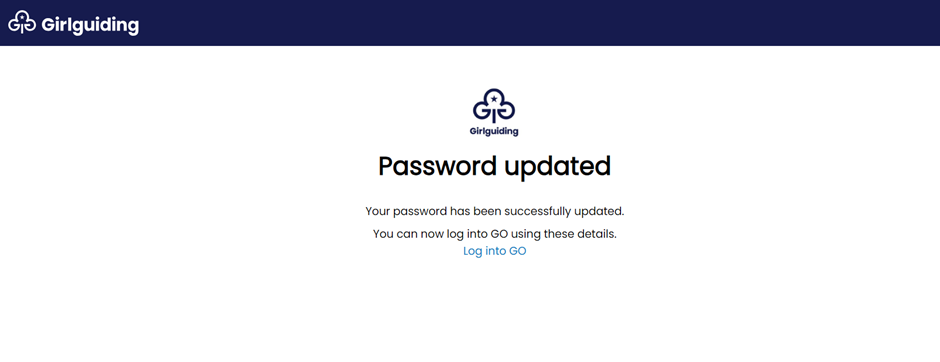
Step 5: Once your email address has been verified, you can set up your password. Make sure your password fits the criteria set out on the screen.
Step 6: That's it, you've set up your login details! You can now use these details to log into GO. See below for step-by-step instructions on logging in.
If you’re still having trouble, or for support with additional needs, contact our membership systems team: [email protected].
Step 1: Once you’ve set up your login details (see above), enter your email address and password to sign in.
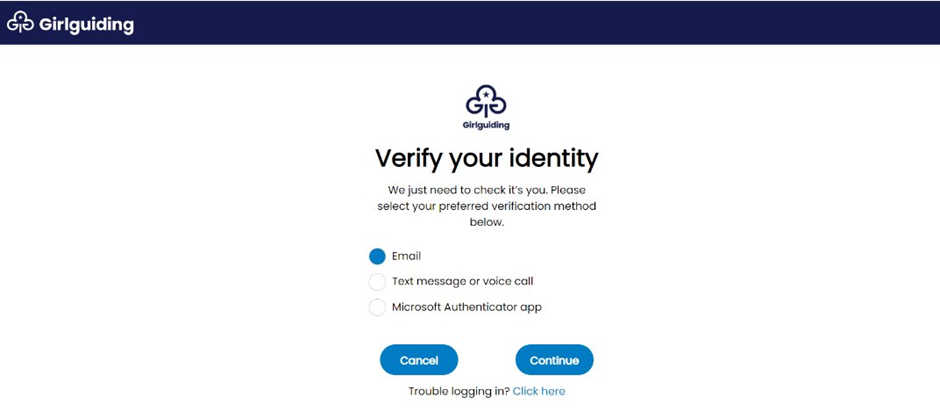
Step 2: You’ll need to verify your identity. We can send you a verification code via 1) email, 2) text or voice call or 3) using the Microsoft Authenticator app. Just choose your preferred method on the screen. If you choose text and you don’t have a valid mobile number associated with your account, you’ll be prompted to choose a different method.
Step 3: Enter the verification code we sent via your preferred method. The code expires after 2 minutes, so you may need to hit ‘Resend’ if this time has elapsed. For more instructions on verifying your identity using this 2-step process, and a detailed video tutorial, head to our login process support resources page.
Step 4: That’s it, you’re logged in! Don’t forget to log out when you're done. If you’re still having trouble, contact [email protected].
Head to the GO sign in page and select the 'Forgotten your password?' link. You’ll be asked for the email address associated with your account. We’ll send you an email to verify your identity so you can then reset your password – keep an eye on your spam folder in case it goes in there.
For step-by-step instructions on this process, check our guidance above on how to set up your login details.
If you need to update your email address, you can do this from the Security tab in GO. More info on this can be found in the help zone on GO.
If you can't log into GO in order to update your email address, get in touch with [email protected] and our support team will help.
If you're trying to set up your login details for the first time since 9 April 2024, or you need to reset your password, you'll be asked to verify your email address.
We're aware that some users are receiving the below error message after verifying their email address using the verification code.
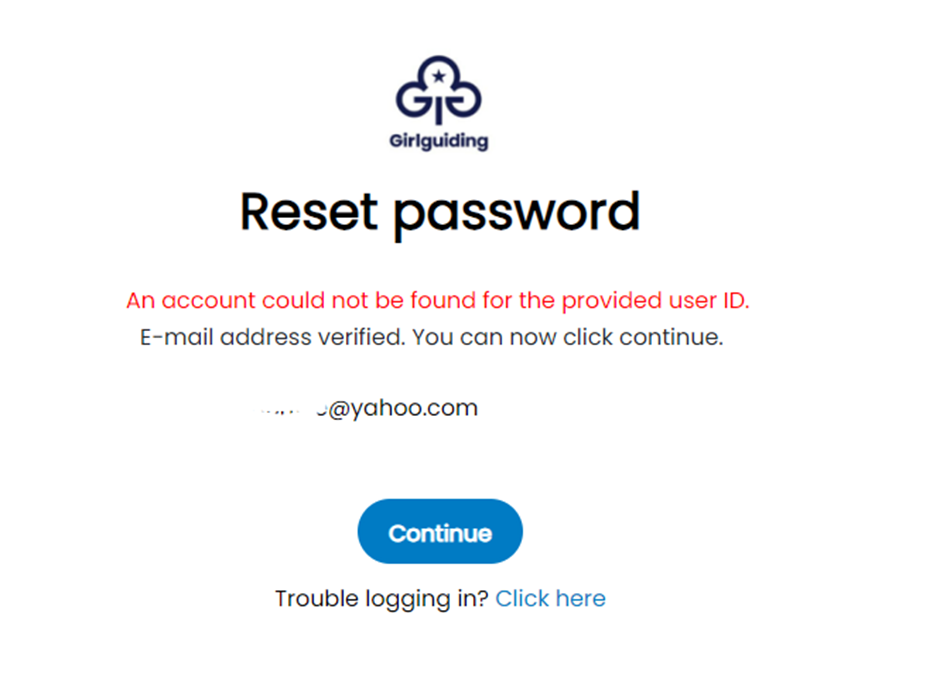
This is because, although this is the email address that you requested a verification code to, this isn't the email address we have registered with your account.
To double check which email address we have registered with your account, ask your child's unit leader to check on GO.
If you no longer have access to that email address, contact [email protected] to update the email address registered with your account.
Once you've registered your daughter, a volunteer from your chosen unit will get in touch, usually within 21 days. We ask for this waiting period because Girlguiding is a volunteer-run charity and our volunteers often have work and family commitments as well as many enquiries to their units.
Use the enquiry system to make contact with the unit where you registered your daughter if you have:
- Lost the volunteer contact information that was given to you as part of the unit’s initial contact with you.
- Not heard from the unit after 21 days.
- Got another question about the local guiding area.
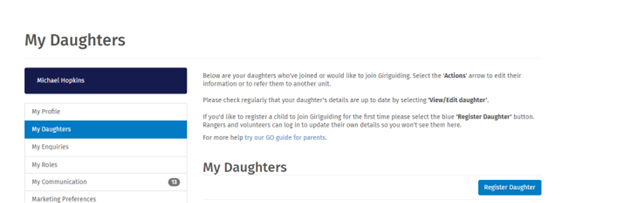
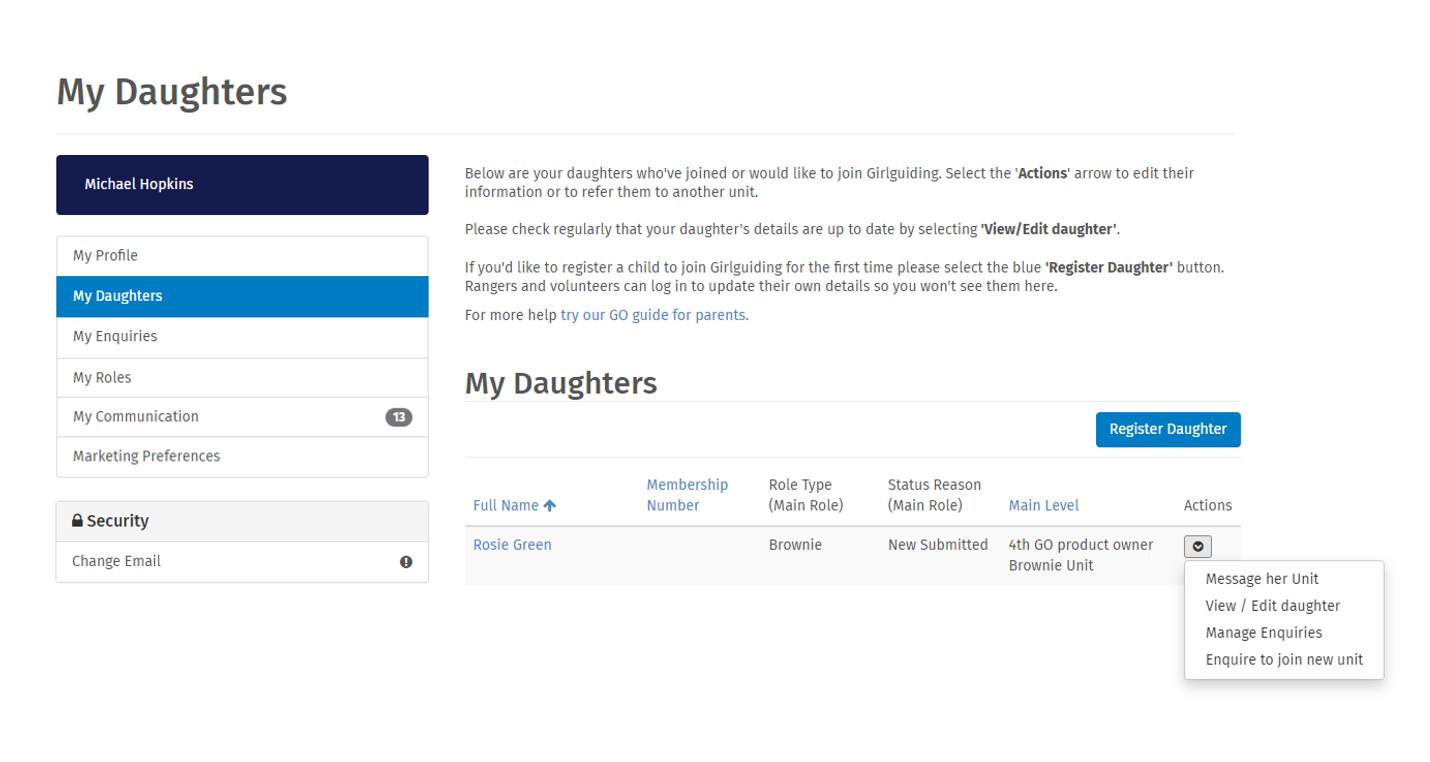
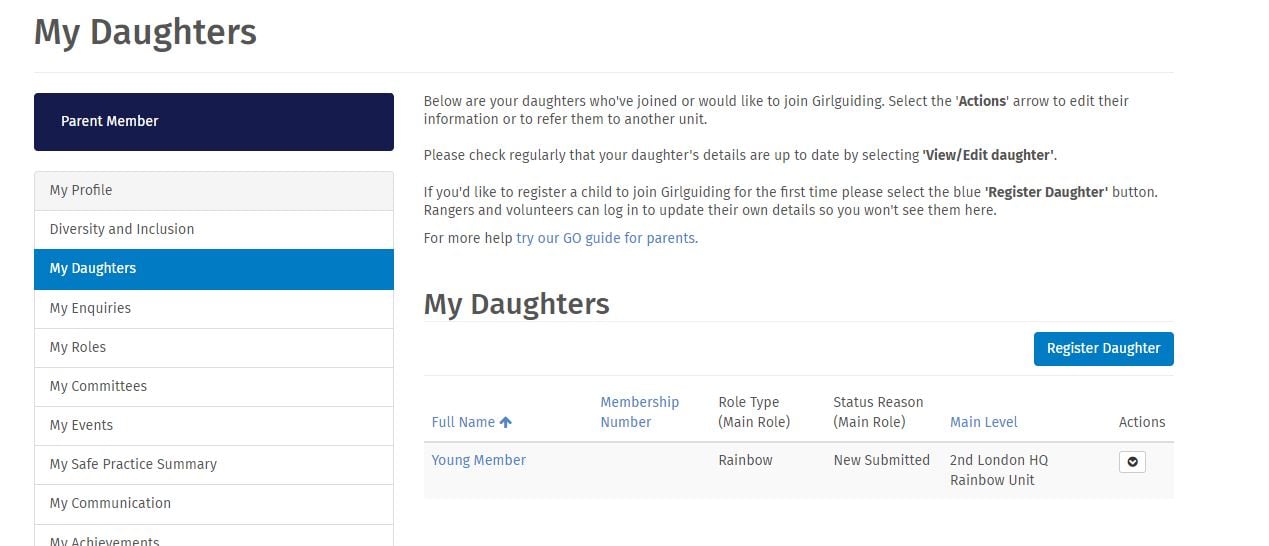
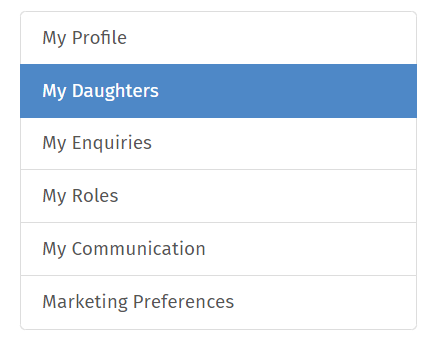
Step 1: Click on My Daughters from the left hand side.
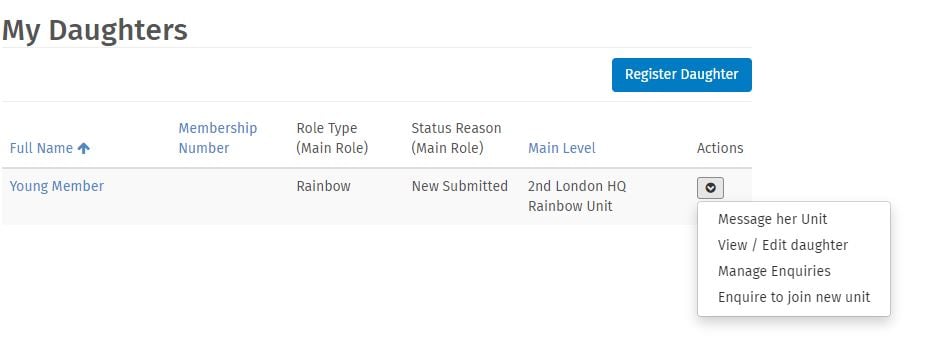
Step 2: Click on the Actions arrow at the end of the row and select Manage Enquiries.

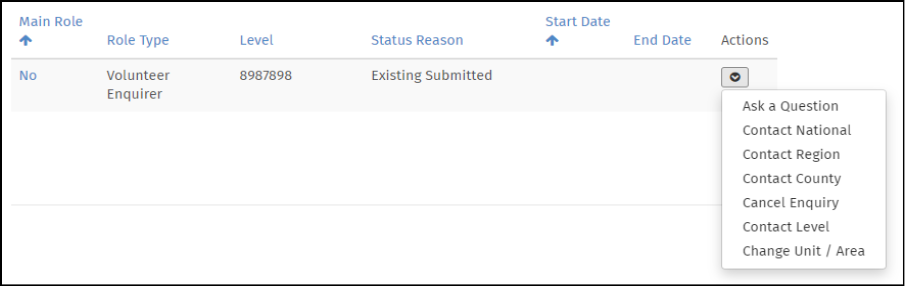
Step 3: You'll see a pop-up screen appear. Click on Actions to display options:
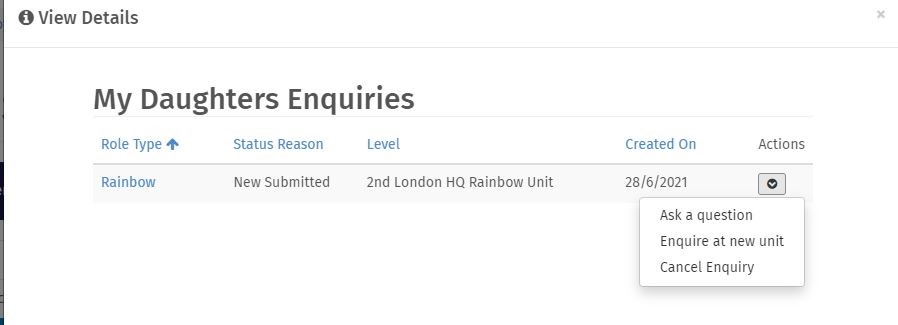
Step 4: Select Ask a question, then click Next on the following screen. This will take you to a form where you can send a question to the unit. Once you’ve asked a question you’ll need to wait for a reply from volunteers in the unit before asking another one.
Step 5: When a volunteer replies to your question, you’ll find the reply in the My Communication area:
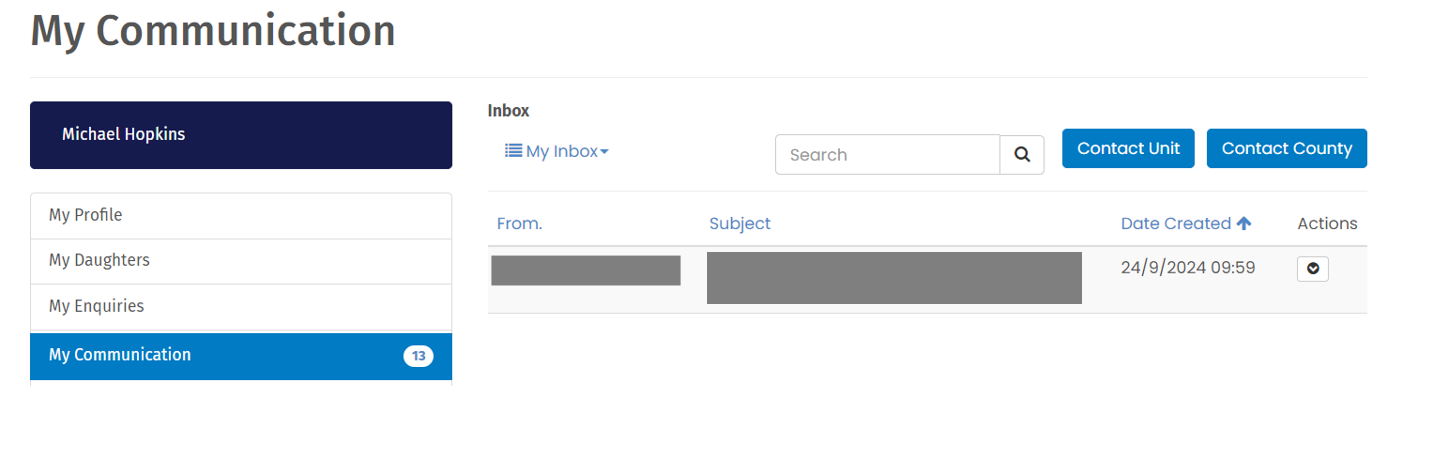
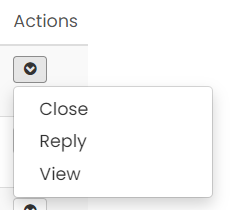
Step 6: Click on the down arrow to the right of the message to see options to view or reply. You can also click on the name in the From column to open the message.
If you’ve moved house or changed your number, then you’ll need to change it on GO. You can check your details, including emergency contacts, at any time. It’s good to check this once a term if you can. Don’t forget to let your child’s leader know of any updates too – especially updates to your contact details.
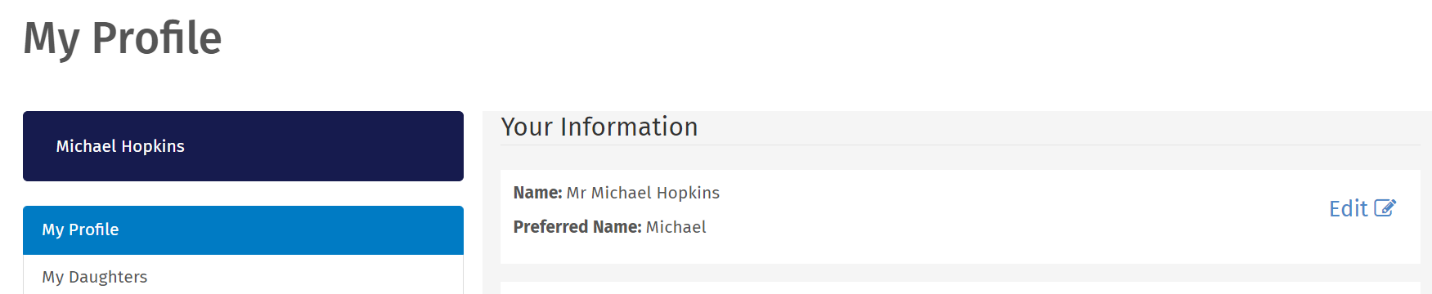
To do this, go to My Profile:

Then select Edit in the area you want to update.
You can also update or add details about your child at any time. This might be their medical situation, for example an allergy or access need. Don’t forget to let their leader know too so they can plan for any support needs.
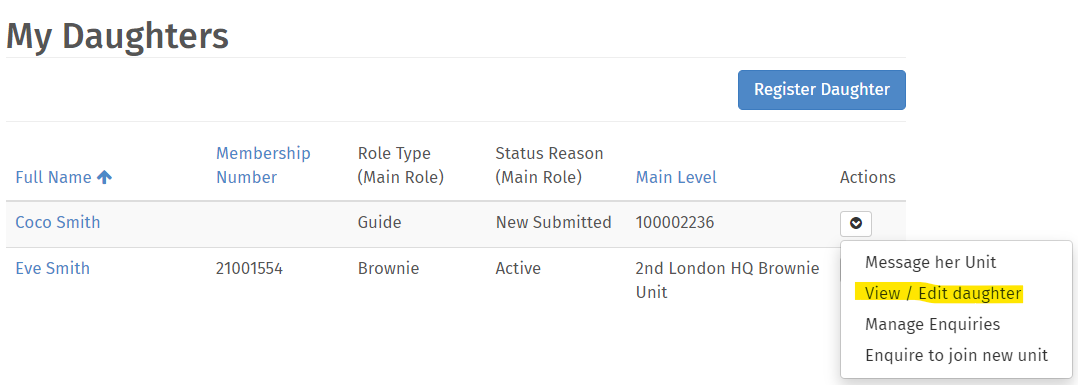
To do this, go to My Daughters in the sidebar, click on the down arrow to the right of their name, and select View/Edit daughter.
Step 1. Click on My Daughters from the left hand side.
Step 2. Click on the Actions arrow at the end of the row and select Manage Enquiries.
Step 3. You'll see a pop-up screen appear. Click on Actions to display options:
St
Step 4. If you'd like to change your daughter's registration enquiry to another unit, select Enquire at new unit. If you'd like to withdraw your daughter's registration enquiry, select Cancel Enquiry.
Log into GO and select 'My Daughters’. If your child’s membership is active, their membership number will show in the table on this page.
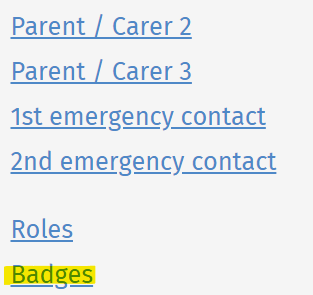
Log in to GO and select 'My daughters'. Find your child in the table, select the Actions arrow and select View / Edit daughter.
Scroll down the page and select Badges.
If you already have a child in guiding and want to register another young person, log into GO (see instructions above if you are new to GO) and select My Daughters and then the Register Daughter button. You’ll only need to add the child’s name, date of birth and preferred unit.
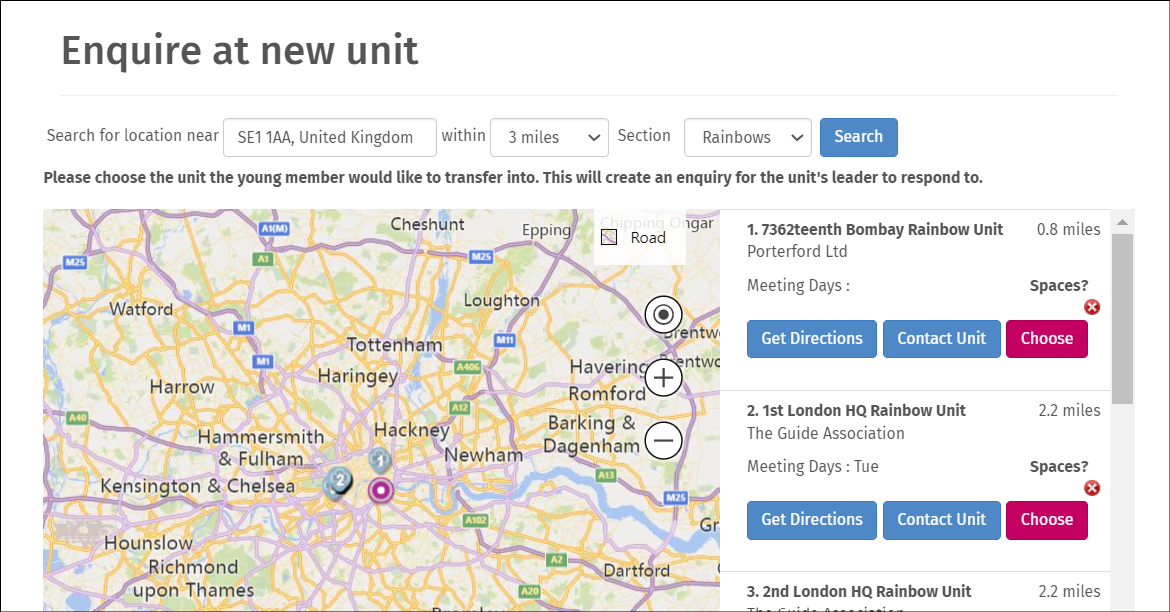
On GO you can find other units and send a transfer request.
Step 1: Select your name on the top right or top of the screen if you are on a mobile device.
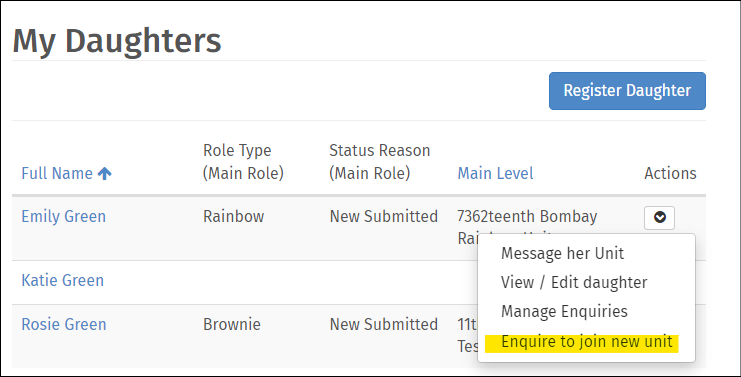
Step 2: Select My Daughters.
Step 3: Select the Actions arrow and Enquire to join new unit.
Step 4: Use the postcode search and distance options to choose the unit your child would like to transfer into. This will create an enquiry for the unit's leader to respond to.
This is the process for people who are already on GO, including parents or carers of girls currently or previously in guiding.
You can browse and register for specific volunteer opportunities here - just enter your postcode to get started.
If you can't find an opportunity that suits, you can express your interest in volunteering by following the steps below.
Step 1: Log into GO. If you haven't logged in before, select 'Forgotten password?' to set up your login details. Once you're logged in, select your name at the top and a drop-down will appear.
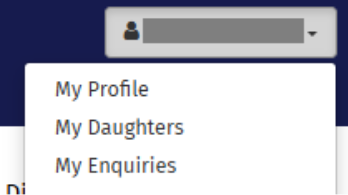
Step 2: Select 'My Enquiries' from the drop-down menu. On your first visit, you'll be asked to confirm your date of birth and gender - please do this and then hit submit. Once the page has refreshed, select 'View map to volunteer'.
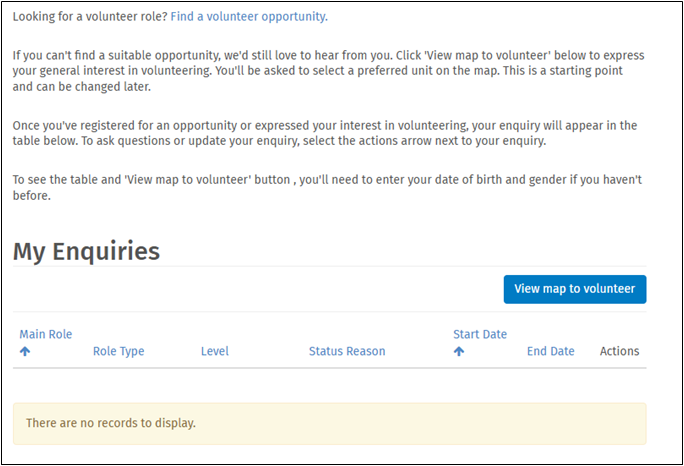
Step 3: A map will launch. Find the unit closest to where you’d like to volunteer. This won’t commit you to volunteering at that unit, it’s just a starting point for your enquiry. You’ll have the chance to decide what and where works best for you at a later date.
Select Choose and then select Submit at the bottom of the page.

These steps will send an enquiry to a local volunteer and let them know you have registered your interest; they will be in touch.
When you select My Enquiries again, you will see your latest enquiries on this page. To manage these please select the Actions arrow at the end of the line:
If you can't find the guidance you need on this page, contact the membership systems team via [email protected].


