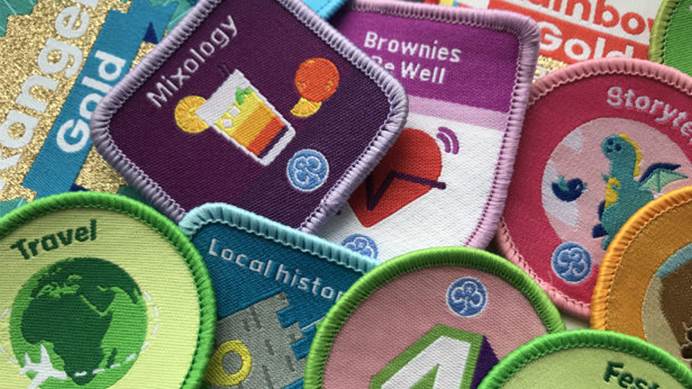
How to show off your badges
Sew them, stick them or tape them
Getting new badges is one of the most exciting part about being in Girlguiding.
By attaching them to your uniform it shows all the activities and challenges you’ve done while being a part of your section. You can move badges onto your camp blanket when you move section too so you can keep showing off your great work.
Sewing works best because it doesn’t leave a mark and is the strongest way to attach badges, but if you or your carer can’t sew, you can still display your badges proudly.
These are our three top ways to attach badges to uniform.
Using fabric glue
If you’re not able to or can’t use a sewing needle and thread, fabric glue could be an option. Fabric glue is normally around £3 and can be used by putting the glue on the back of the badge and then pressing the badge onto your uniform. Make sure to follow the instructions on the fabric glue for the best results.
Use hemming tape
Hemming tape is normally used to make sleeves and trouser legs shorter (which might be useful if your uniform is bit too big) but it can be used for putting badges onto uniform as well. It’s around the same price as fabric glue and comes in a roll that can be cut or ripped into strips. Cover it with a damp tea towel and use a hot iron on a steam setting to attach the badge to the fabric. Make sure to get help from an adult to do this!
Hemming tape can come loose after a few washes because it sticks using heat. If this happens, you can stick the badge on again by starting from the beginning again or put extra tape in any corners that keep coming off. It can work well to use hemming tape and a few stitches around the edge of a badge to keep it even more protected.
Sew your badges
The traditional way to attach badges to uniform is to sew them on. It’s the cheapest way to do it and will never leave a mark on your uniform when you take the badge off to put on a camp blanket. And it’s not as hard as it sounds!
All you need is a needle, thread and pair of scissors. It’s also helpful to have some pins to keep the badge in place while you’re sewing. Cut a piece of thread, tie a double knot in one end and put the thread through the needle. Then, go from underneath the uniform and then go up and down along the edge of the badge all the way around, until you get to where you started. Cut the thread from underneath the uniform and tie a double knot.
And you’re done! The stitches don’t have to be really neat, it’s all about having the badges on your uniform and learning a new skill if you’ve never done it before.
If you’re a Guide, how about using your new talents to complete the Craftivism interest badge? Craftivism is all about crafting items that make a statement and challenge injustice. Grab a sewing needle and change the world.
Want to find out more about our badges? Use our badge finder to explore what you could achieve next.


